
Experienced deck builders know that building a patio deck is an excellent way to increase a home’s value and extend living space outdoors. They also know that proper planning and attention to detail can help overcome minor measurement or squaring issues, creating a professional, "wow-factor" finish for your patio deck. These seven pro tips will help you avoid common mistakes and make your deck-building project a success.
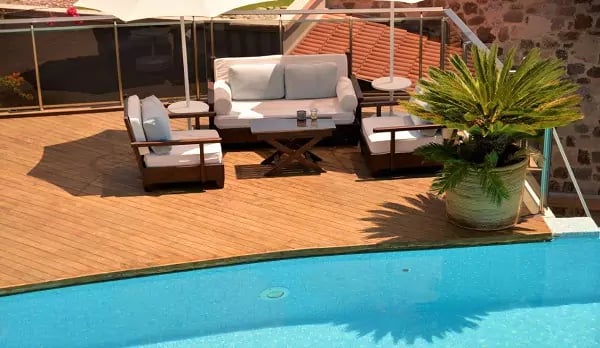
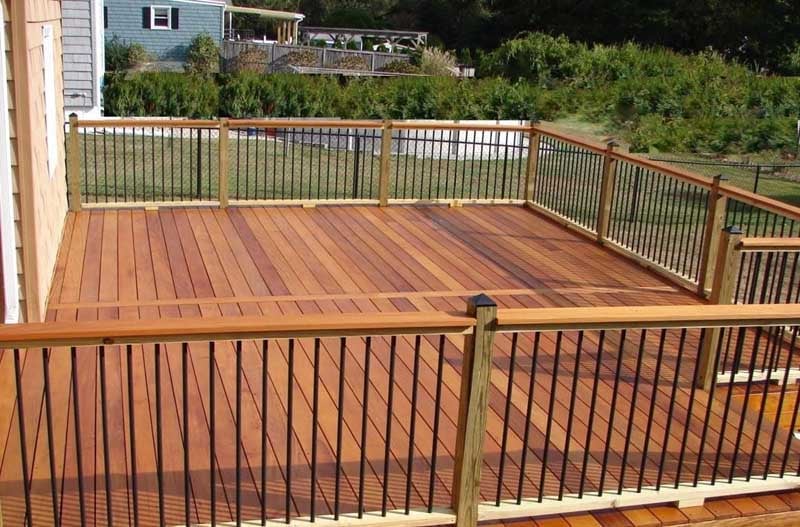
 Mataverde Jatoba hardwood deck mid-installation with varied outer edge shape and board direction
An old carpenter once told me: “It doesn’t have to be perfect; it just has to work right and look right.”
While that’s not always true in life, in the case of wood decking it is. If you have minor underlying problems that affect measurements or squaring, a little planning and some "fudgery" will make them disappear. This will, in turn, increase the quality of the finished deck.
1. Start from the Outside and Work Your Way In
When installing your patio deck boards, start at the outermost edge of the deck and work your way toward the house.
This may seem counterintuitive, but it's best to save any necessary cuts for the final board. The last board, which may need to be ripped or tapered, can be hidden against the house where any imperfections or inconsistencies will be much less noticeable.
This technique is especially useful with a premium hardwood with a rich, natural grain like Mataverde Ipe Wood, (below) where you want the most visually striking boards to be front and center.
 A backyard picture frame deck using Ipe wood decking with a Garapa border
2. Use a Chalk Line to Guide Your First Board
Snap a chalk line to mark the inside edge of your first decking board, taking into account the fascia and the reveal.
Measure from the chalk line back to the house to ensure the measurements are consistent. If they aren't, you can slightly adjust the line to a "happy medium," allowing you to maintain a consistent reveal on the outside edge while remaining reasonably square with the house.
This step is critical for a smooth installation, no matter what material you use. When you’re working with a material that has beautiful natural color and patterns, such as Mataverde Jatoba Decking, (below, also known as Brazilian Cherry) a straight and true first line ensures that every board is highlighted.

3. Take Your Time to Set the First Board
The first deck board is the most critical. Take the time to get it exactly right on the chalk line.
Any wobbles, curves, or misalignment in this board will multiply as you install the rest of the decking. Getting this initial step correct will set you up for a smooth installation.
On long patio decks, this is extremely important to avoid headaches later. Consider the patio deck (below) using Mataverde Garapa wood decking. By placing the first boards thoughtfully and correctly, the rest of the board placement follows more easily. Saving you time and labor.
 Patio deck project that chose Mataverde Garapa decking, railing, ceiling soffit, and vertical siding
Want to see how well Mataverde wood fits your decking project? Request samples here.


Pre-Grooved Mataverde Ipe wood deck using concealed fasteners to create a consistent gap between boards
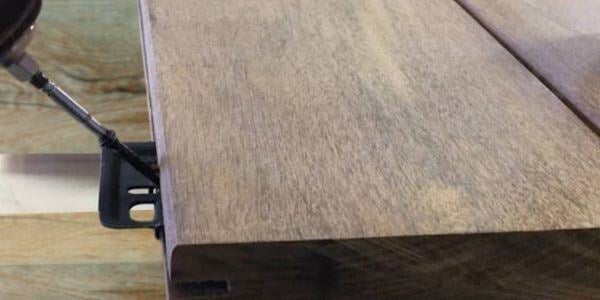
4. Maintain a Consistent Gap Between Boards
Decide on the gap measurement you want between your deck boards and stick with it.
Inconsistent gaps will multiply and become more obvious as you progress. For a long-lasting deck, proper gapping is essential. It allows for natural expansion and contraction of the wood.
This is important even for the most durable of hardwoods such as Mataverde FSC Machiche which is incredibly dense and stable, but still need space to breathe.
-
If you're using concealed fasteners, the gap is predetermined. Easy-peasy.
-
If you are face-screwing the boards, use a spacer to maintain a consistent gap. Use whatever tools you need to keep the boards tight against the spacer as you install them. Use your foot, a chisel, prybar, one of those decking bars, or whatever it takes to keep your boards tight against the spacer and maintain that gap. Again, any inconsistencies will compound as you go.
 Mataverde all-steel concealed deck fastener (above) is a durable technique that automatically creates the appropriate gap between your decking boards for airflow, expansion and contraction.
 Face screws (above) are the sturdiest fastener for your wood decking, but require diligently consistent spacing
5. Frequently Measure Back to the House
As you install the deck boards, periodically measure the distance back to the house.
Due to slight variations in board width or other minor discrepancies, you may need to make small adjustments. It's easier to correct these issues early on.
If things start to get off track, adjust the spacing over several boards rather than trying to make up the difference all at once.
 For the Mataverde Jatoba wood decking project above, frequent measuring to the edge of each section from the stone siding was essential.
Ready to see Mataverde wood decking for yourself? Order samples now.

When choosing a budget-friendly wood decking option like the affordable, blonde Garapa wood hardwood deck and railings (above), or the thermally modified ThermaWood Hem-Fir decking, (below), using these tips for a professional, designer-look finish increases the return on your enjoyment of your deck.
 Mataverde Thermally modified Hemlock decking
6. Leave the Ends of the Wood Boards "Wild"
Instead of trying to cut each decking board to its finished length before installation, let the ends overhang the framing by several inches.
This is often referred to as running the boards "wild." Once all the decking is laid, snap a chalk line at your desired reveal and use a circular saw to make one clean, straight cut along the line. This ensures a consistently straight finished edge.
Using this method with Mataverde Ipe wood, (below, on a small rooftop deck installation) or any quality wood, ensures a professional-grade finish that shows off the custom good looks.

Ready to price your project? Contact us for your complimentary decking quote now.

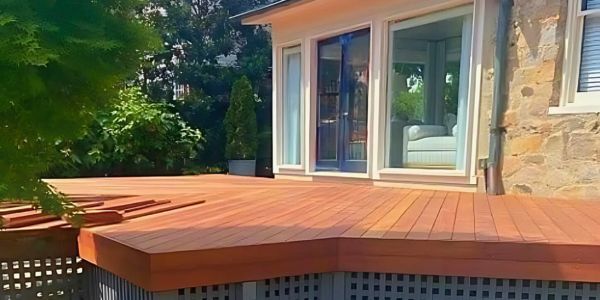
7. Install the Fascia After All Decking Has Been Laid
It's a good idea to install the fascia after the wood deck boards are laid, but before you make any final cuts.
This gives you one last opportunity to straighten out any framing issues. If the framing has a slight bend or is out of square, you can use shims behind the fascia board to create a straight, finished appearance. This simple step can make all the difference in the final look of your deck.
 Ipe decking boards used as fascia to complete the custom look of a wood deck build
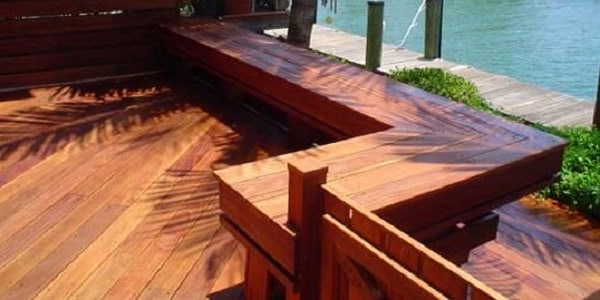
 Jatoba wood decking and fascia finishes the edge of a cantilevered deck over the water for an easily crafted custom look
Taking the time to apply these tips to your patio deck installation will save you a lot of time and headaches in the long run. By paying attention to these details, you can achieve a professional-looking deck that adds real value and "wow-factor" to your home. Follow these pro tips and you’ll be able to proudly show off your work and a new wood deck that can be enjoyed for years to come.

Related Posts